Photographers Creative Tool
Let me cut to the chase about Kelvin White balance. If you wanted the history about Kelvin, you’ve come to the wrong place. I like to keep things simple, to the point, but give you tips that make sense.
Every photographer is encouraged to use Kelvin white balance. It gives you the creativity of making your own art, it's your creative tool to paint the story that you want to create in your clients image.
If you don’t want to be creative, that is what AWB (auto white balance) is for.
I’m guessing you are an artist who wants to dive into more creativity with light. I’m here to help.
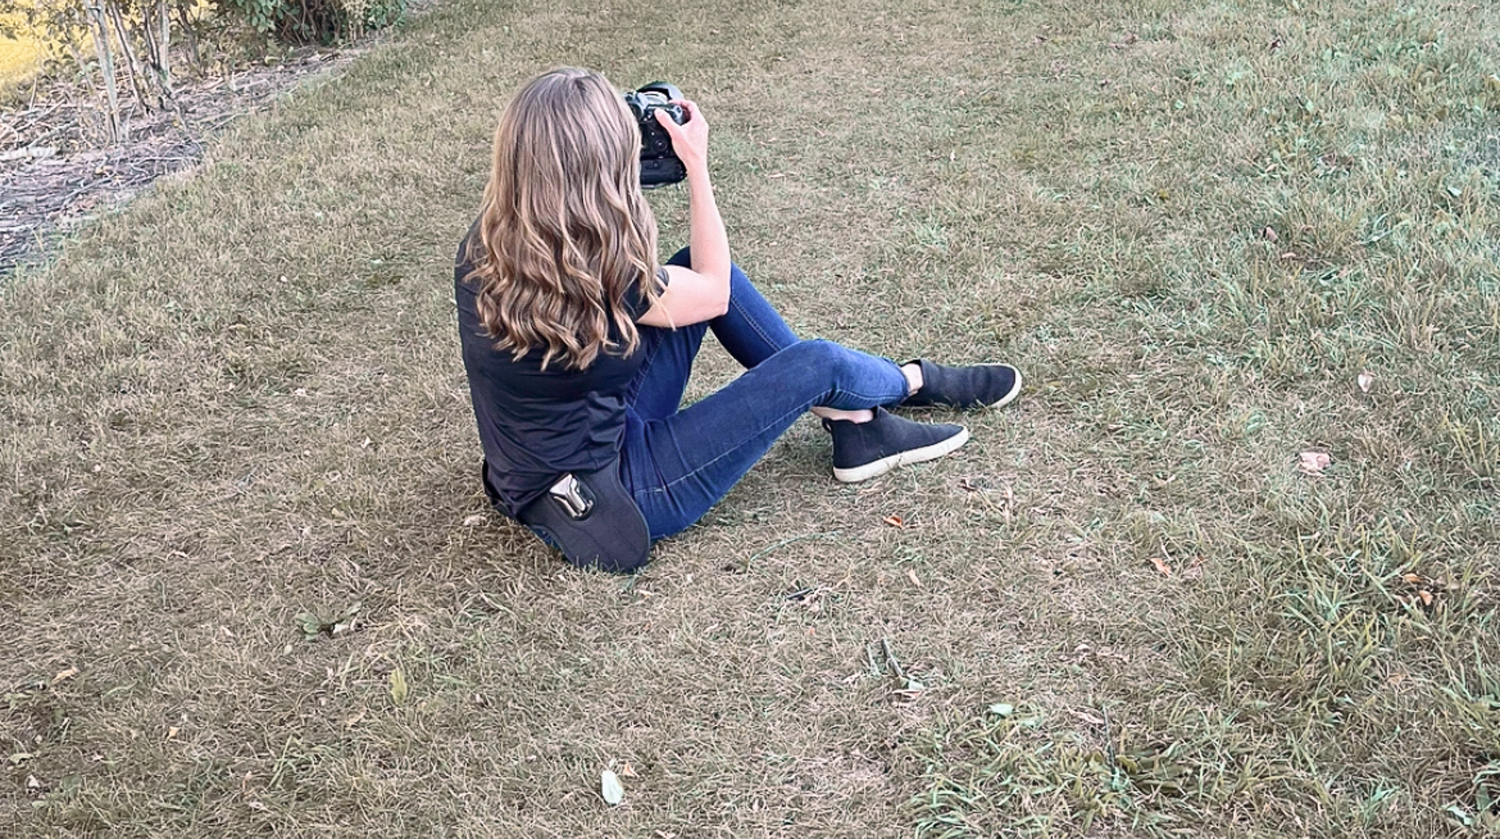
Understanding the Kelvin Chart
These tips are for all you Canon users. I'm sorry to all of you who use Nikon, Sony, and other brands; I'm not familiar with them. But, maybe it all works together? I'm here to help you understand the Kelvin Chart and how it works.
I teach what I learn and have mastered from working with my Canon DSLR.
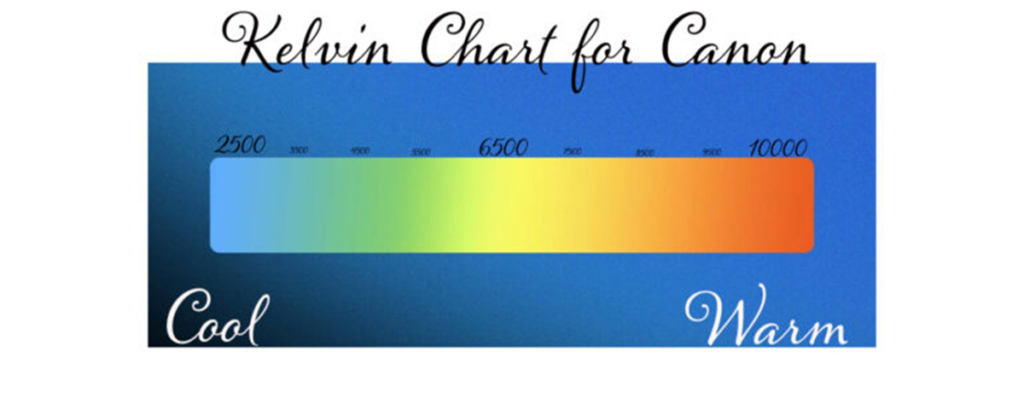
Think of Kelvin as a setting that goes cool-warm. The cool settings start towards the left and the warm settings start towards the right.
How I remember the direction is I always tell myself, ” Turn up the heat” or "Turn up the warmth." That way, I know the other direction is going to take me to my cool/cold settings.
Keep in mind that different times of the day give different types of light.
So practice your Kelvin settings so that you can memorize your Kelvin number for that particular day.
Now, if you’re new to your camera, you’re probably saying, “Britney!! Where is my Kelvin White Balance setting?" I'm so glad you asked, Let me show you.
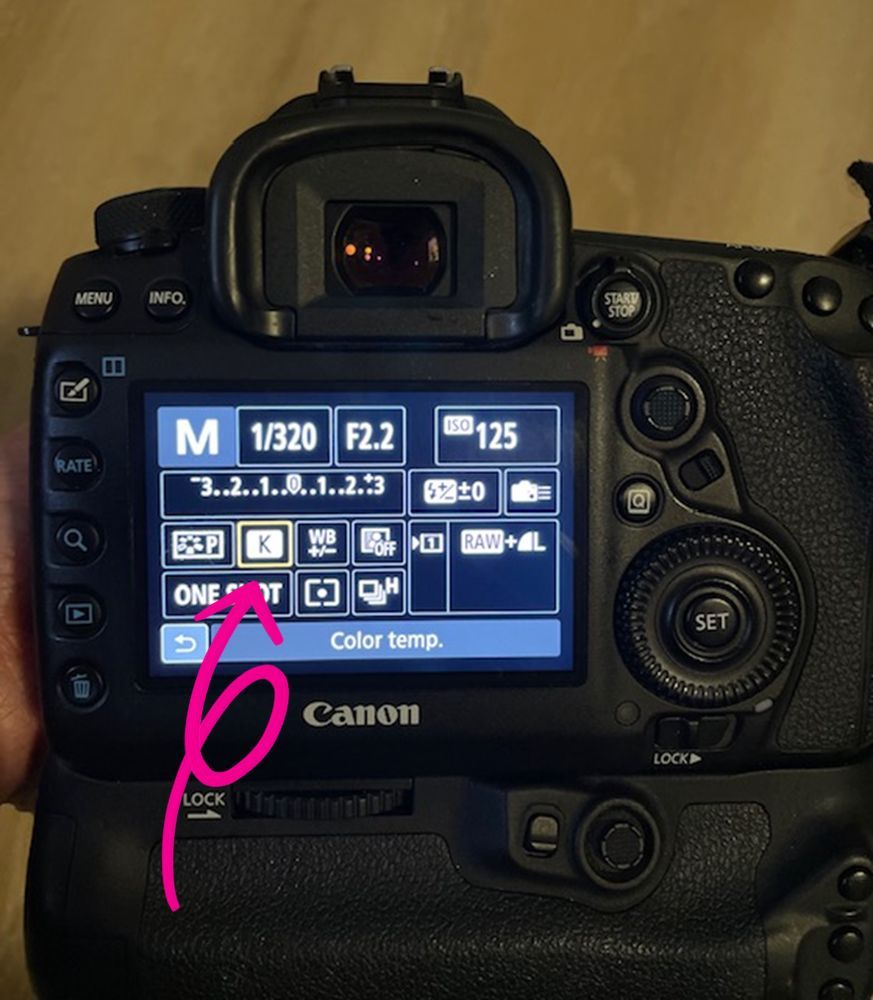
How to find the Kelvin Setting in Your Canon Menu
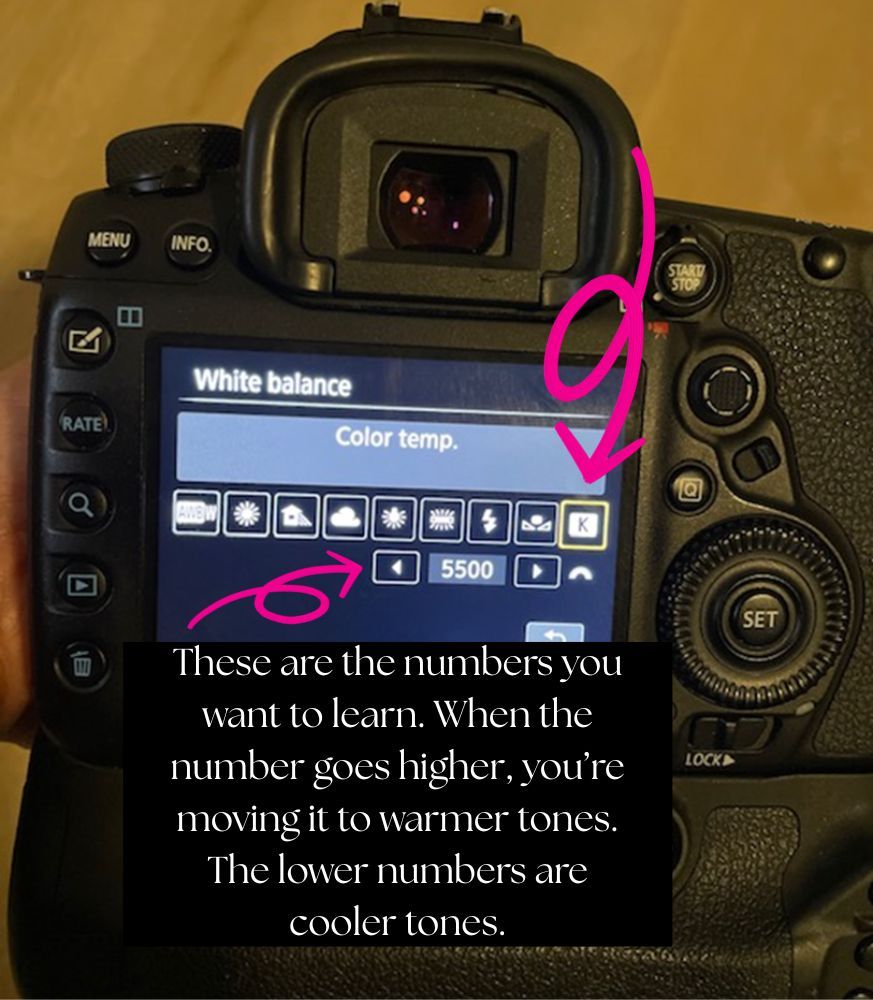
These are basic and simple instructions to find the Kelvin Setting in your canon menu. Make sure that your color temp. has the "K" selected. When you hit your "set" button, your screen will look like image number 2.
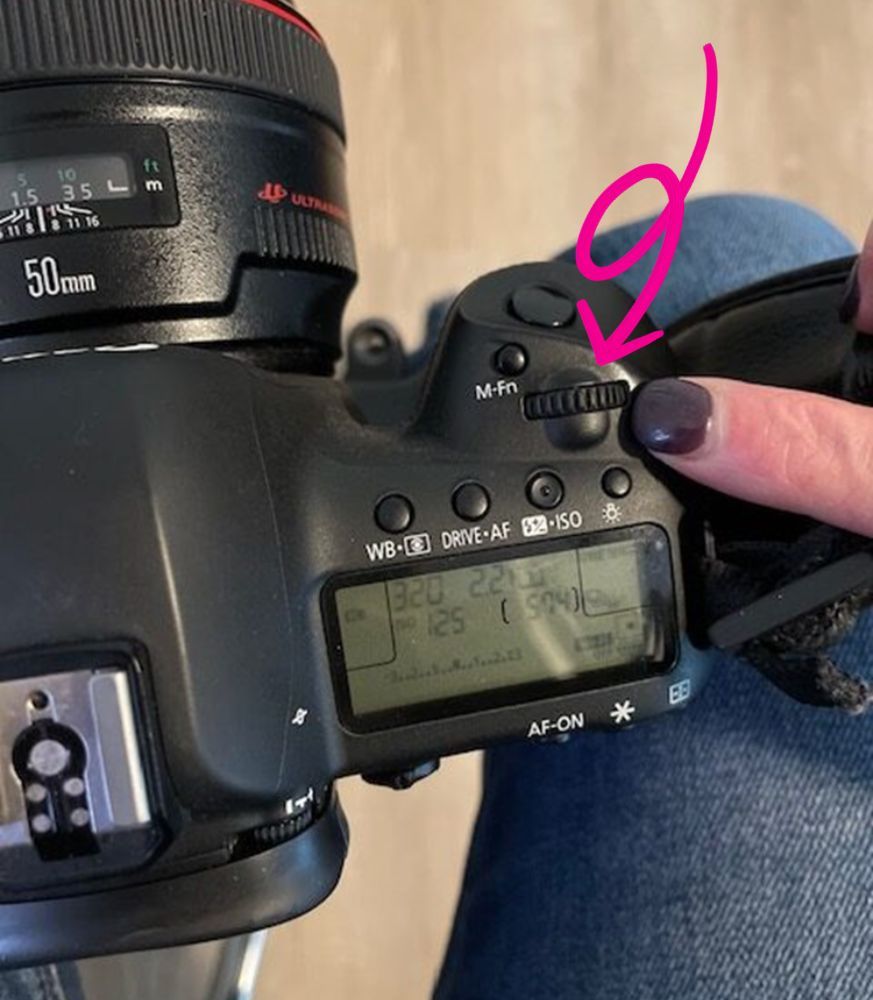
It will show you a variety of color temperatures, but of course, make sure Kelvin ( "K" ) is selected. In Image number 3, I am showing you the wheel that is used to adjust the temperature of the Kelvin.
As I have stated in image number 2, when you move the wheel in the right direction, your temperature is getting warmer. When you move the wheel to the left, you are bringing the temperature, the numbers, down, which means you are moving it to the cooler temperatures.
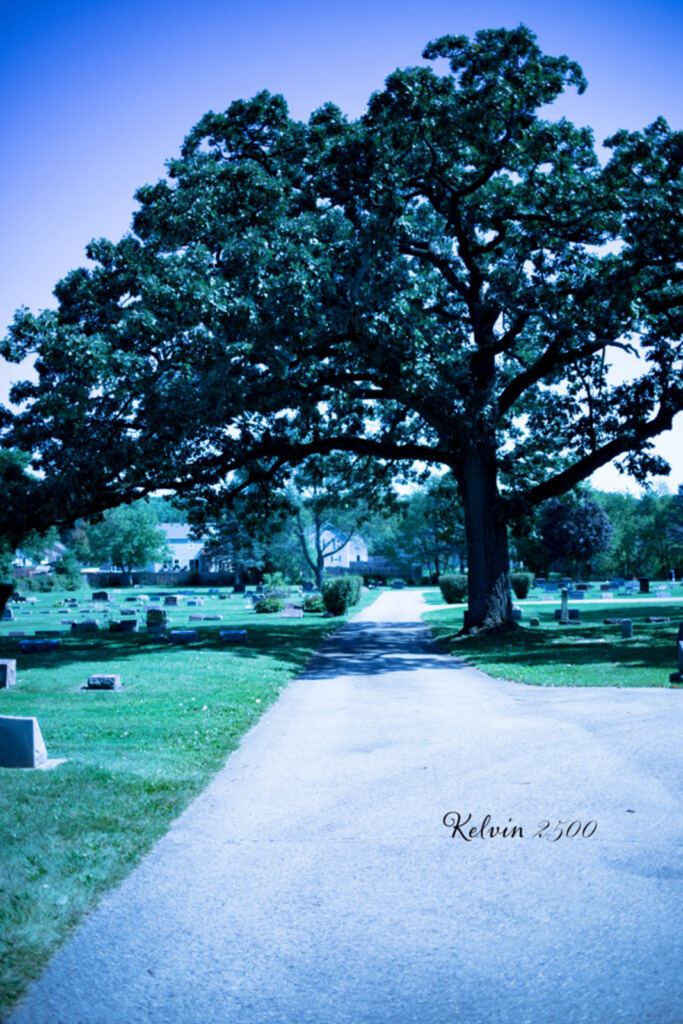
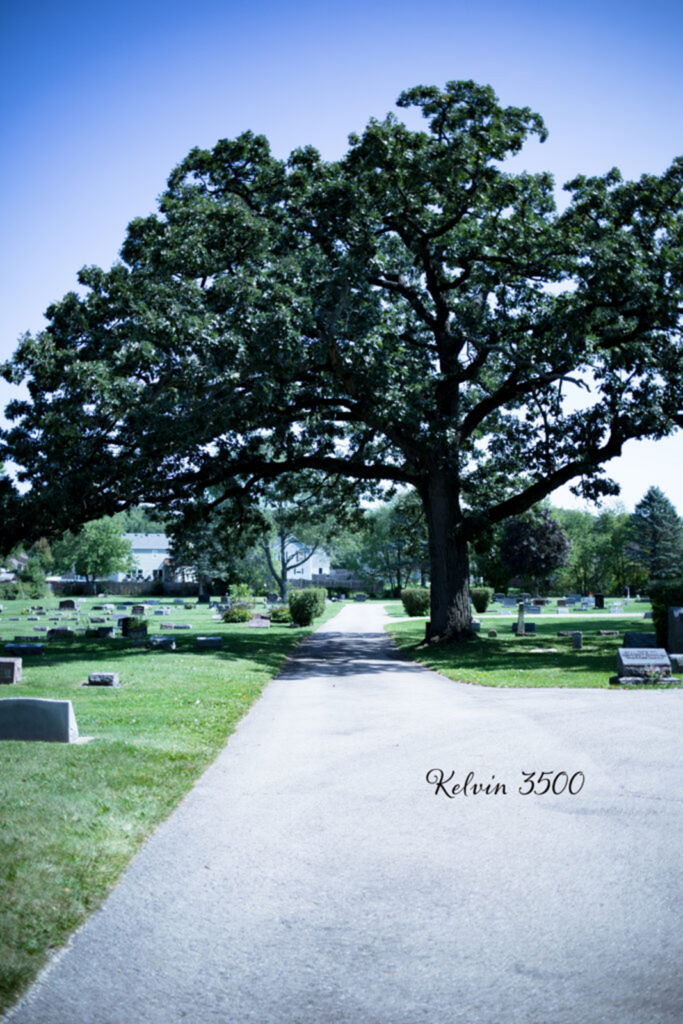
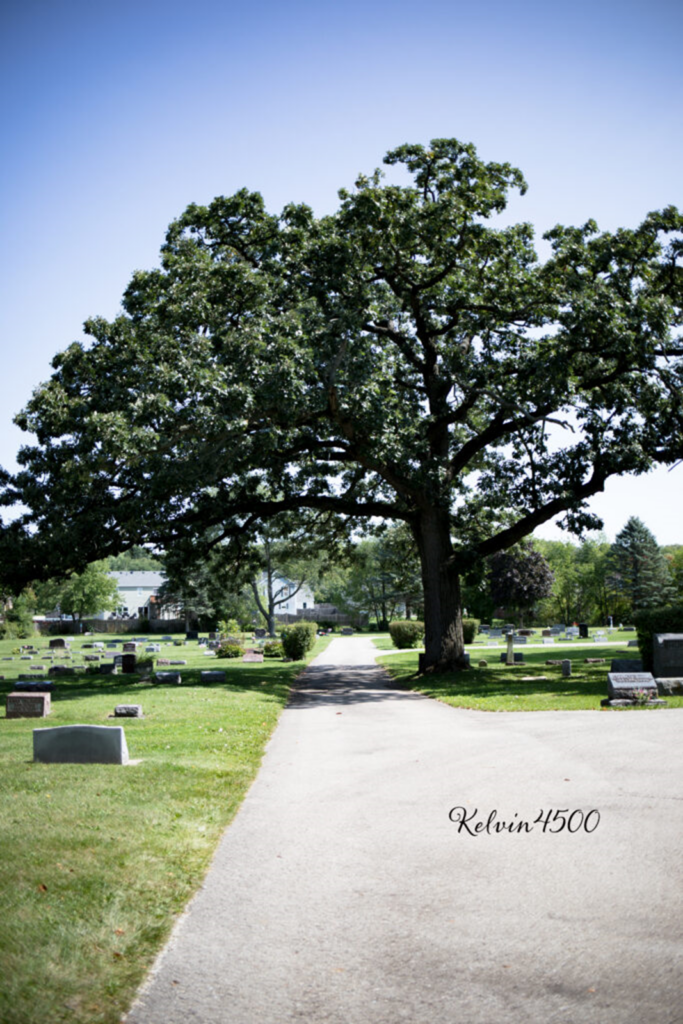
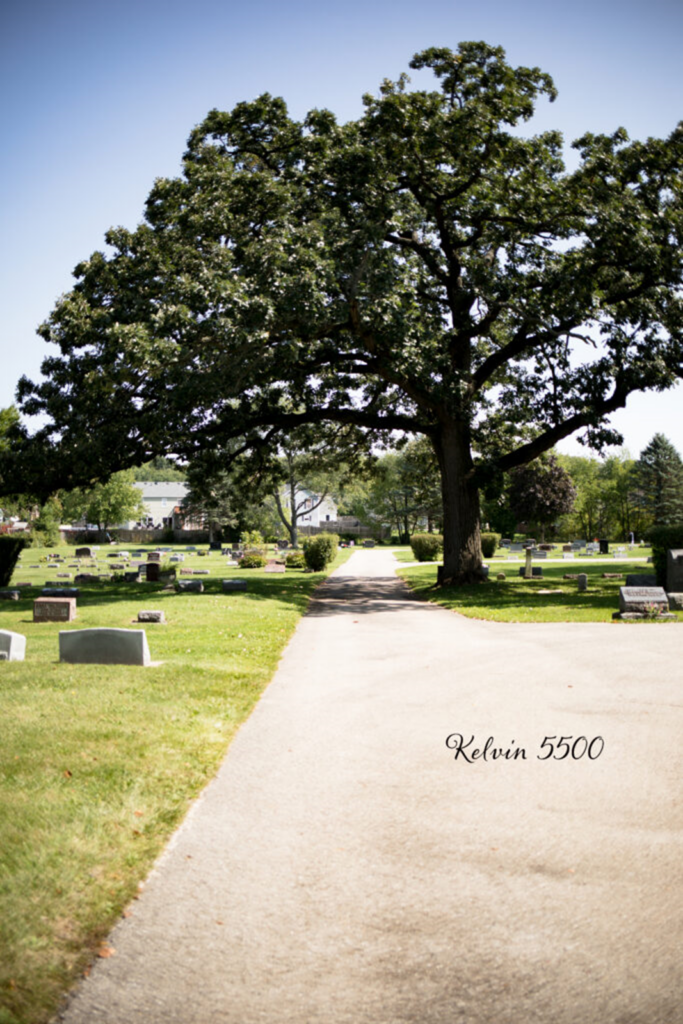
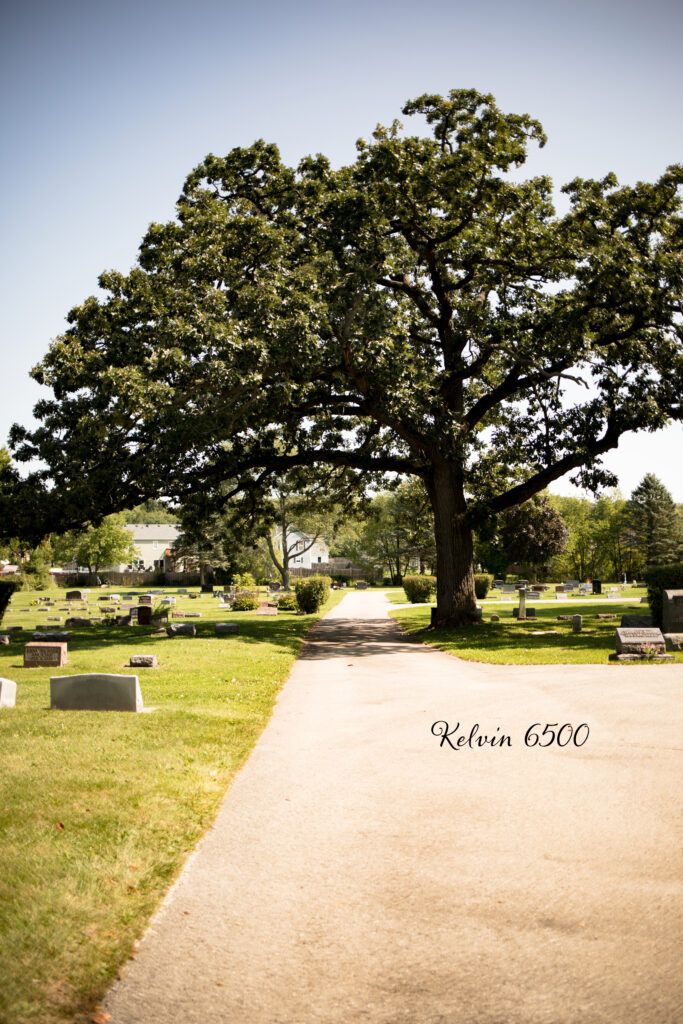
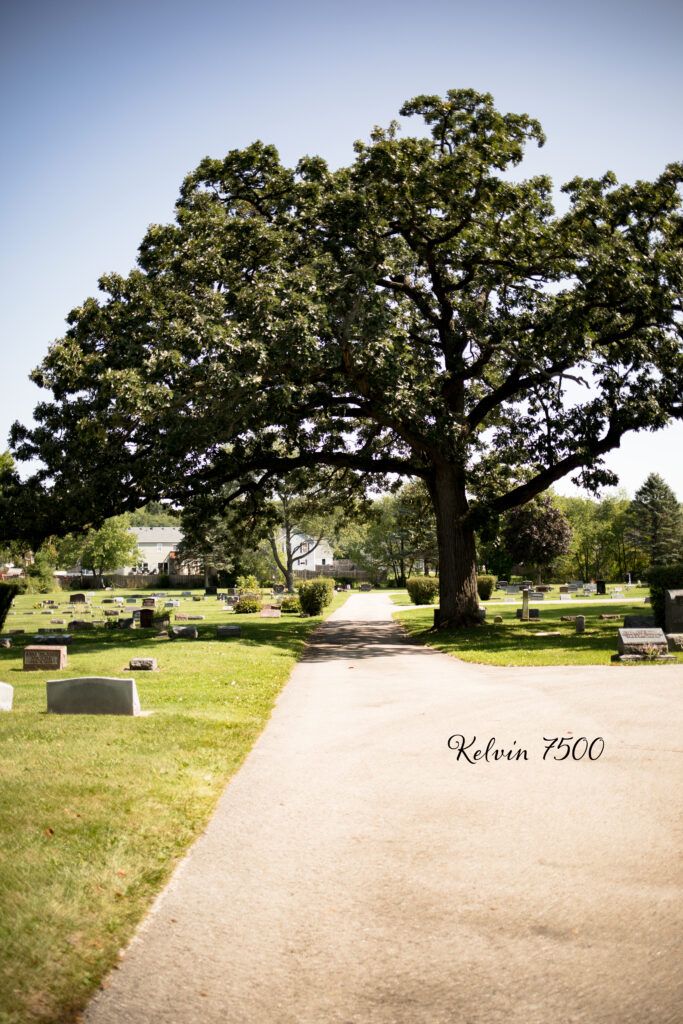
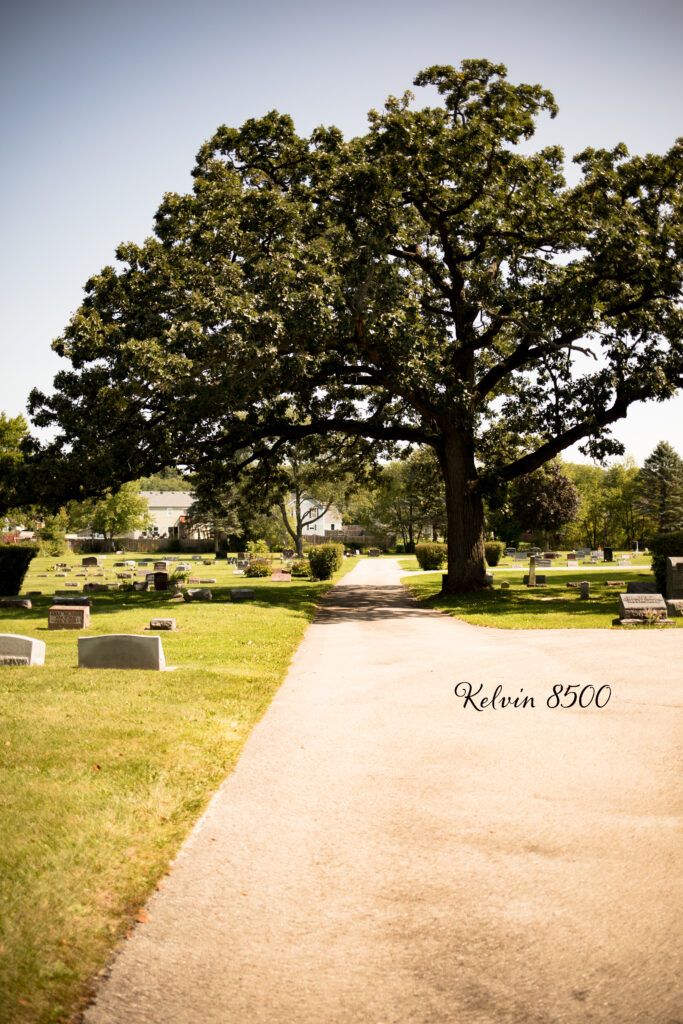
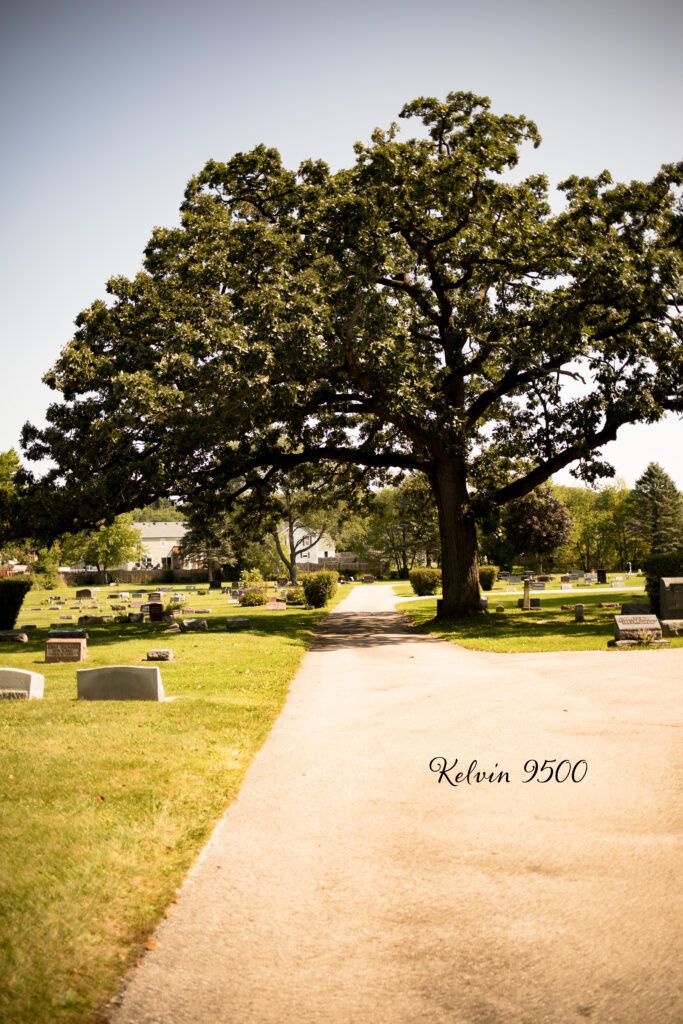
Below are some outdoor samples of Kelvin Lighting. My settings for the Cemetery were 1/1600 F2.2
ISO 100.
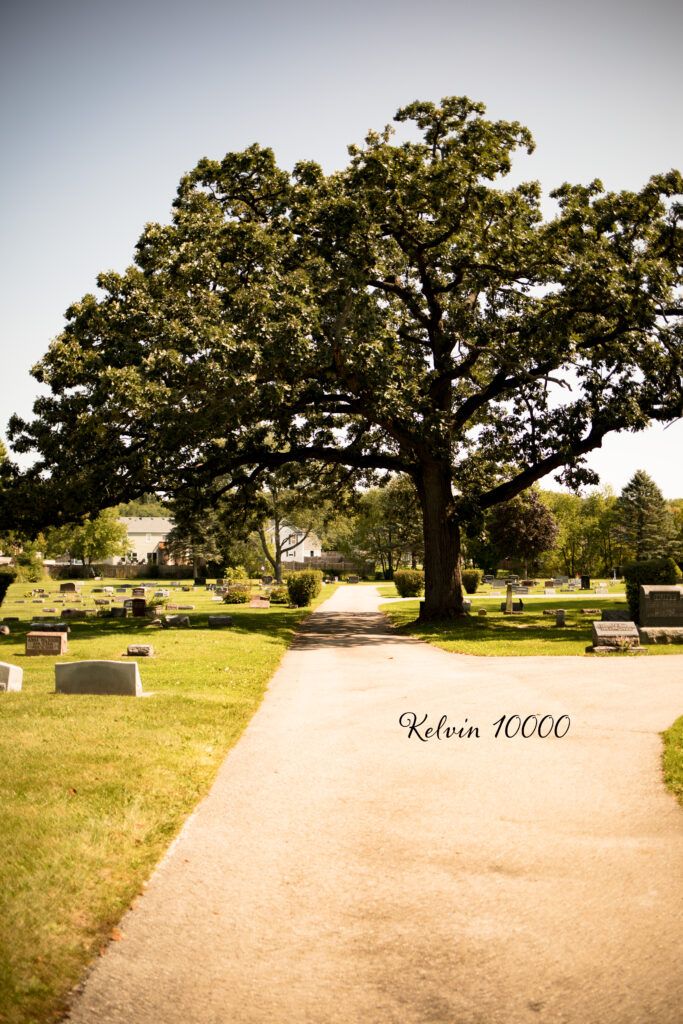
The Goal
The goal is to get your White Balance ( Color Temperature) as true as you want it in your camera, so you don't spend a lot of time in post processing (Photoshop & Lightroom) fixing your white balance.
There is only so much a Preset from LR and an Action from PS can do. But you are the artist, test the waters and see what you create, and then you will see the magic come alive when you add your presets and actions onto your work.
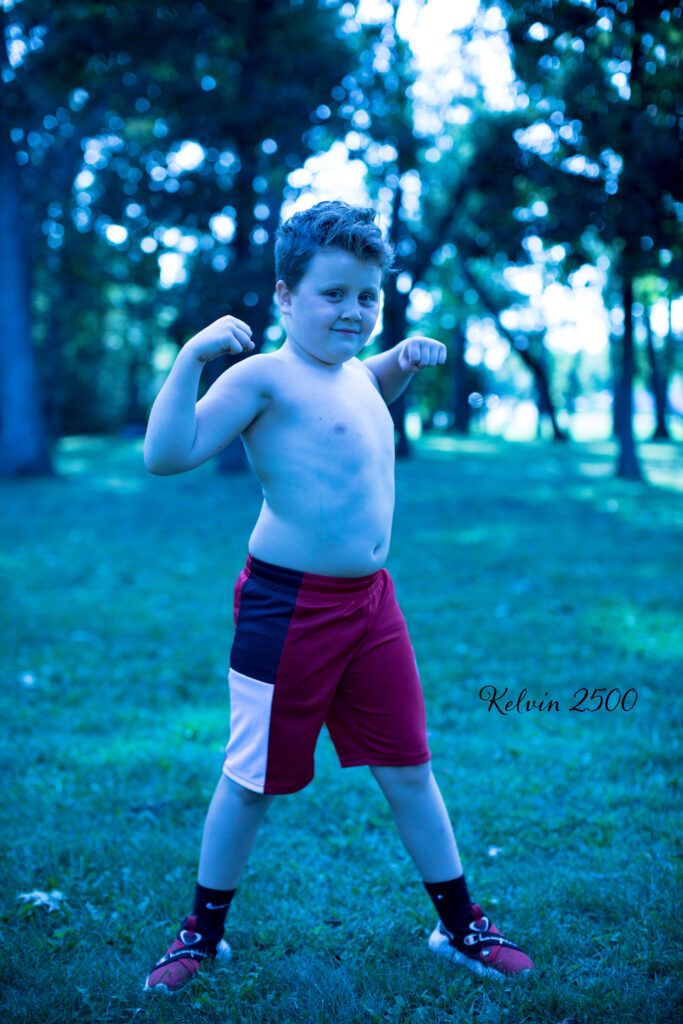
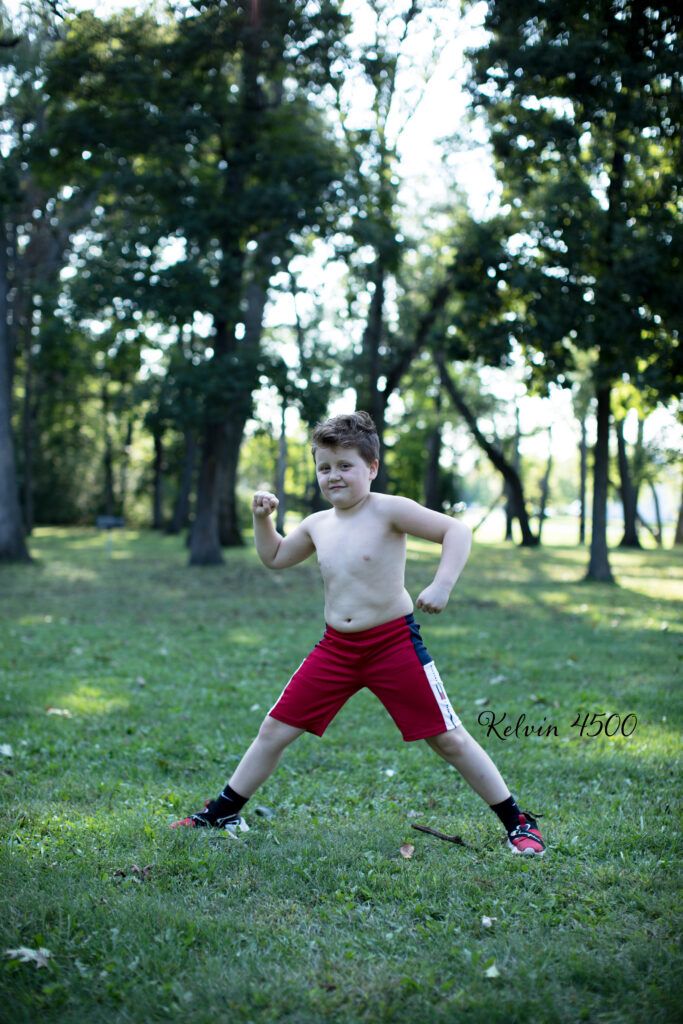
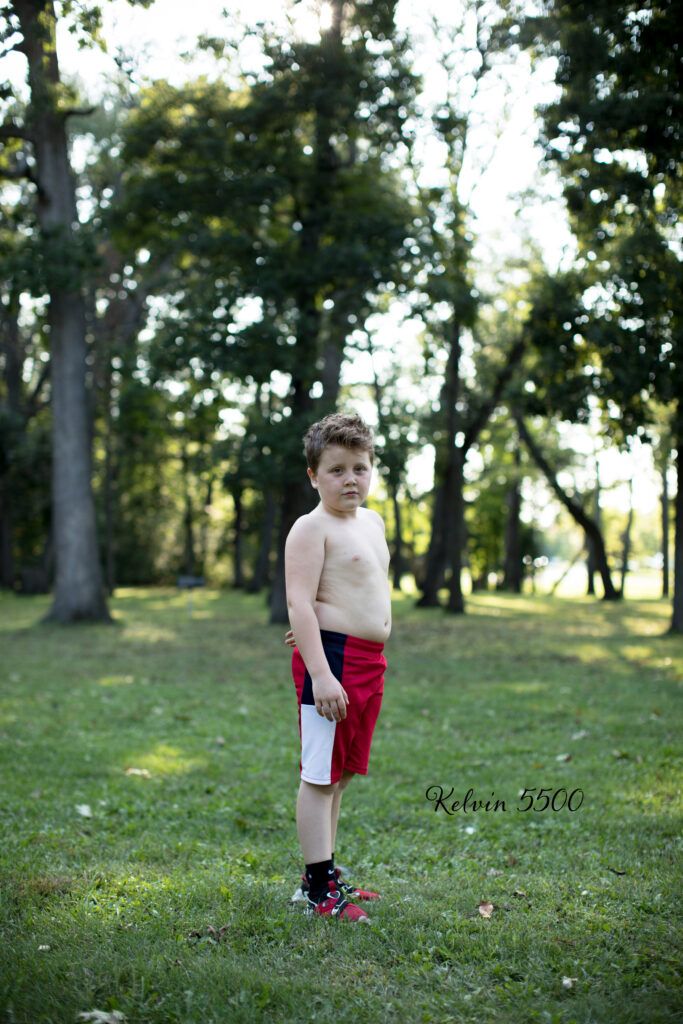
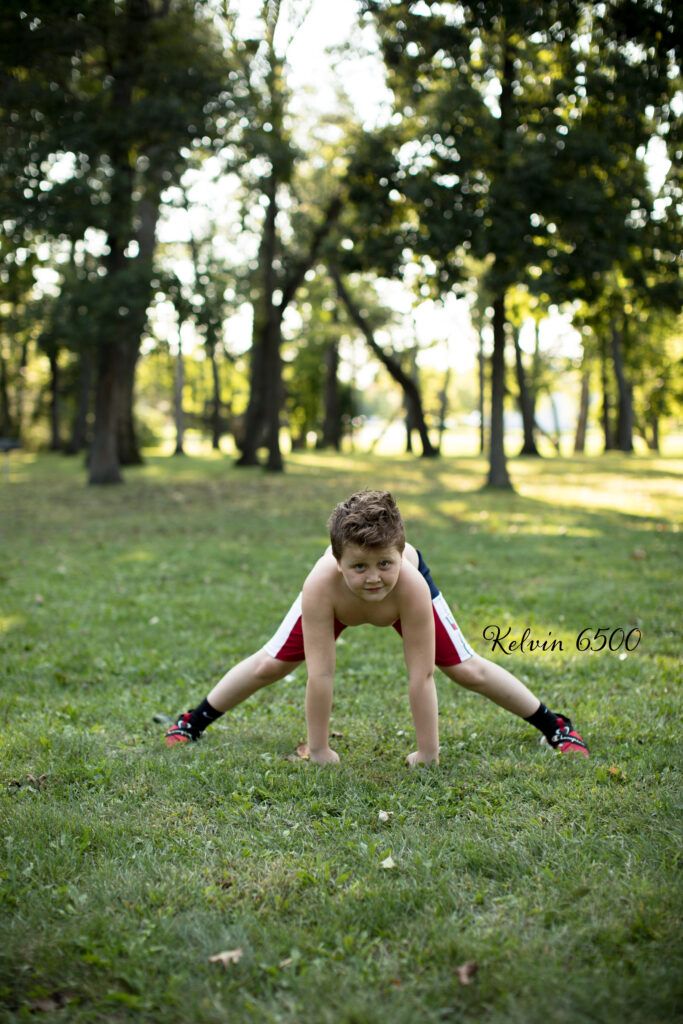
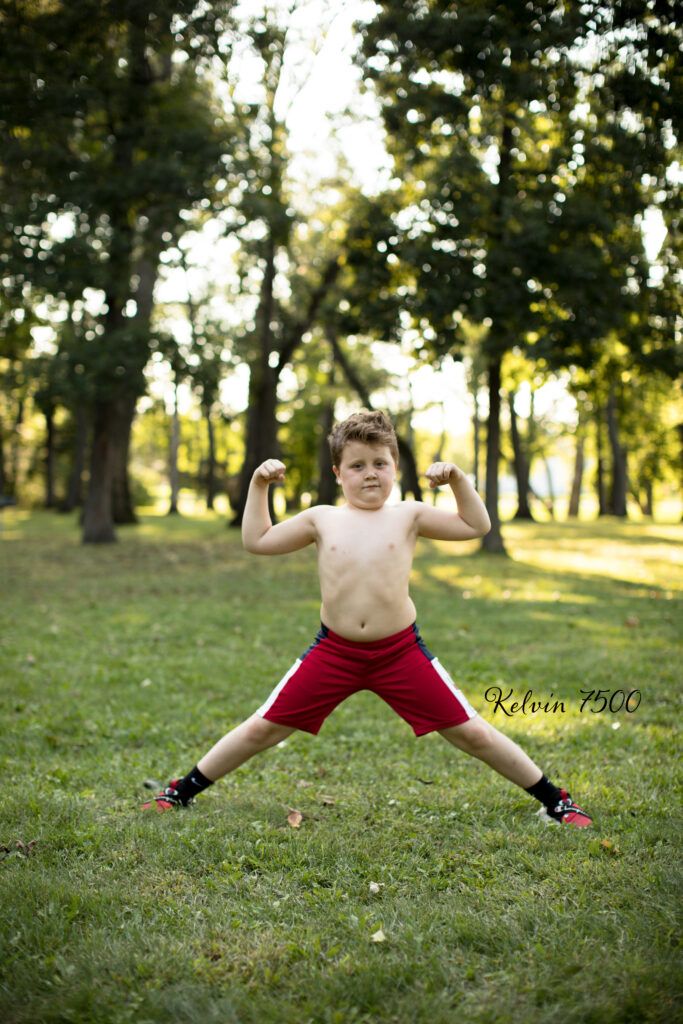
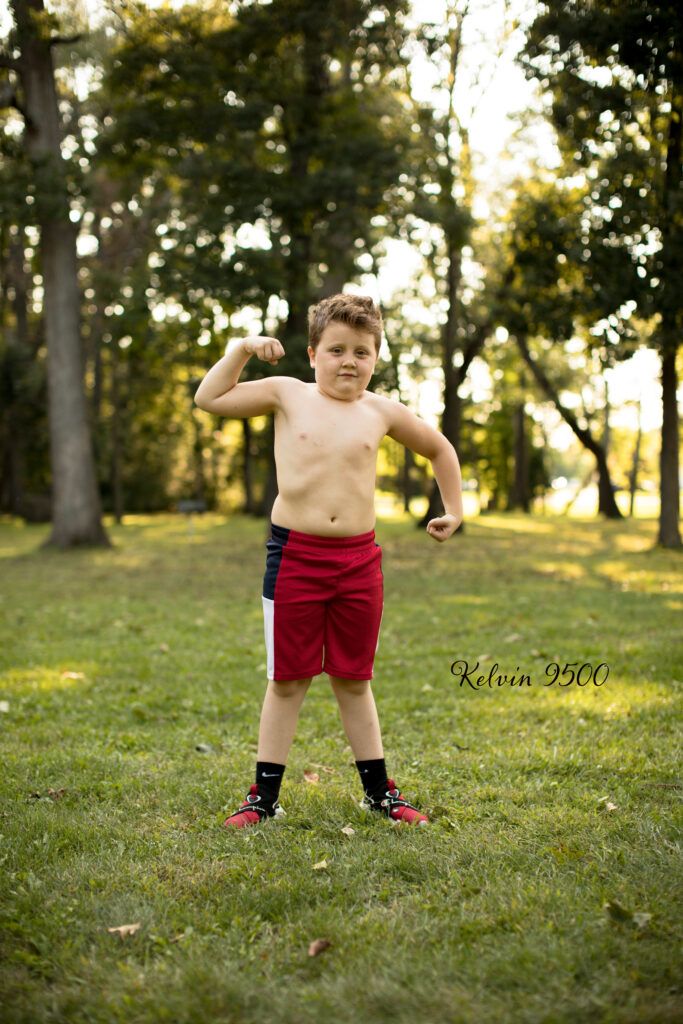
Now, let me show you some outdoor images with Kelvin Lighting with my son. ( My son was kind enough to pose for me…..he chose MANY poses. LOL He was about 5 years old then. ) My settings were: 1/320 F2.2 ISO 125



Giving you a Visual of Understanding
I don't know about you, but as a photographer, I am a visual learner. So seeing the results of a variety of perspectives helps me greatly. That is what I wanted to do for you. I wanted to give you a visual understanding of what the effects would look like with a client. Because you have to consider skin tones and the art you want to create.
I shot these images 2 hours before sunset. Again, the light during that time is a bit softer, so it really depends on your lighting during the day and what Kelvin you choose to go with.
The fun part is how the images will look with your presets and actions you have created. The goal is to have consistency in your images.
I have another catch for you……..
What about indoors?
That is a whole different ball game. You will have different camera settings ( SS, F-stop, & ISO) as well as Kelvin. It's good to build the habit of always checking your settings and doing some test shots before you begin your shoot.
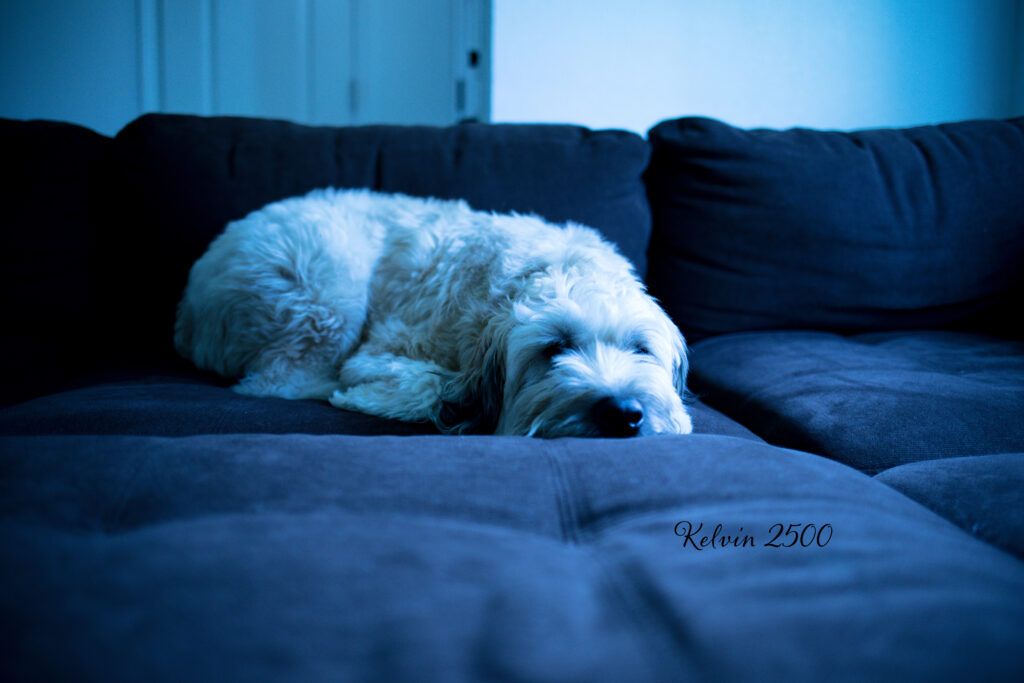
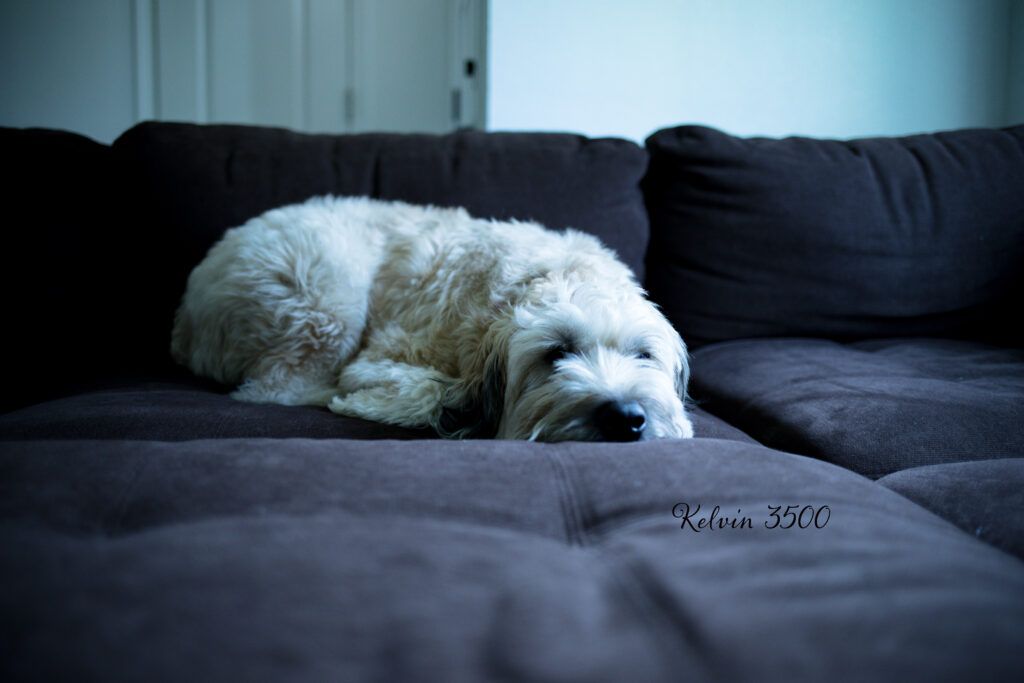
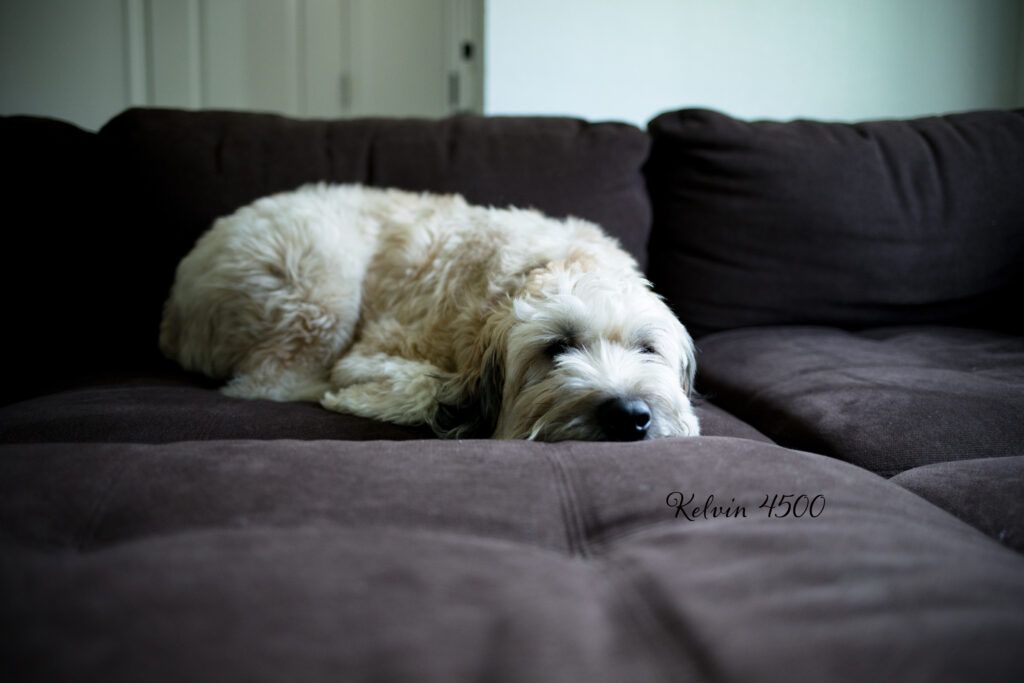
Here are some samples of indoor shots I took of our dog. He did so well. He isn’t asleep; he is just very patient. He is a Soft Coated Wheaten Terrier, and his name is Moe. He was 4 then.
My settings were 1/320 F2.2 ISO 640